Making particular column (or) all columns
editable in Web dynrpo ALV
Refer the previous tutorial steps from 1 to 19 to create the web dynpro component and design the layout with alv table. Instead of doing 20th step, Follow the below one to make particular column editable.editable in Web dynrpo ALV
************** To make particular column editable ****************
Step 20 : Write the below code
*Retrieving column to be in edit mode
data lr_column type ref to cl_salv_wd_column.
call method lv_value->if_salv_wd_column_settings~get_column
exporting
id = 'EBELN'
receiving
value = lr_column.
*Creating UI Elmenent 'INPUT FIELD' to make the column editable
data lr_input type ref to cl_salv_wd_uie_input_field.
create object lr_input
exporting
value_fieldname = 'EBELN'.
*Assigning input field to the column
call method lr_column->set_cell_editor
exporting
value = lr_input.
*Enabling editing mode in ALV table
lv_value->if_salv_wd_table_settings~set_read_only( abap_false ).

OR
************** To make all columns editable ****************
Step 20 : Write the below code
*Internal table and work area to store all column id and reference
data lt_columns type salv_wd_t_column_ref.
data ls_columns like line of lt_columns.
*column reference
data lr_column type ref to cl_salv_wd_column.
*input field UI Element
data lr_input type ref to cl_salv_wd_uie_input_field.
*Retrieving all column id and reference
call method lv_value->if_salv_wd_column_settings~get_columns
receiving
value = lt_columns.
*Making all columns editable
loop at lt_columns into ls_columns.
*Assigning column reference
lr_column = ls_columns-r_column.
*Creating input field UI Element
create object lr_input
exporting
value_fieldname = ls_columns-id.
*Assigning input field to column to make it as editable
call method lr_column->set_cell_editor
exporting
value = lr_input.
endloop.
*Enabling editing mode in ALV table
lv_value->if_salv_wd_table_settings~set_read_only( abap_false ).

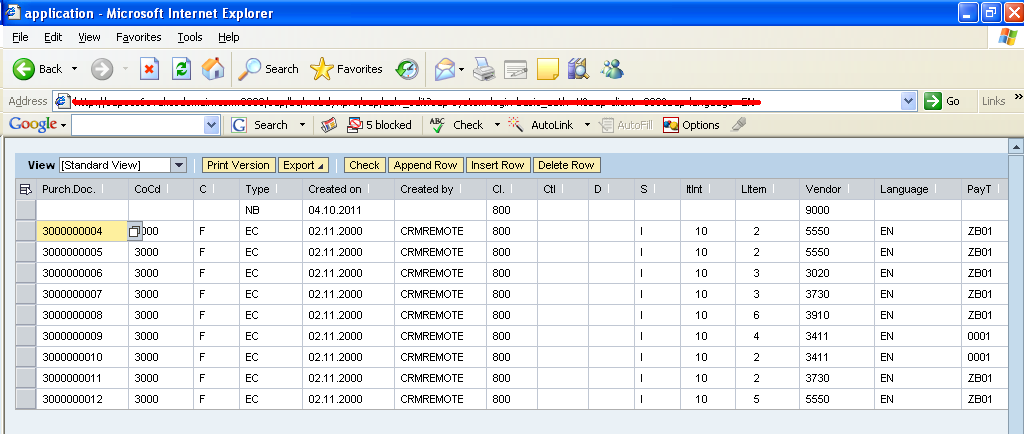
OUTPUT :
Follow the steps 21 to 23 from the previous tutorial.
Follow the steps 21 to 23 from the previous tutorial.
* Making particular column editable

OR
*Making all columns editable
By
Karthick.R,
Kaavian Systems.